

A Step-by-Step Guide: How to Use Heat Transfer Paper
Heat transfer paper is ideal for all your custom designs on fabrics, ceramics, wood, or any other surface. Whether DIY-ing shirts, adorning home décor, or giving unique gifts, heat transfer paper can make the work easier yet achieve that professional-looking result. Here's a detailed guide on what you need to know, how heat transfer works, and how to troubleshoot common problems.
How Does Heat Transfer Paper Operate?
This specially coated paper transfers print designs when heat and pressure are applied. This versatile paper works by embedding the design into the surface when heated. It is generally used for making custom tee shirts, cups, and other personalized belongings. You have to print the design, put it on the surface, and heat it with a press or iron. The heat transfer paper gives bright and long-lasting images suitable for personal use and commercial works.
- Printing
- Positioning
- Applying Heat and Pressure
- Peeling
1. Printing
Chemical inkjet or laser printing marks the print onto either paper's heat transfer paper-coated side. The design is applied in reverse to transfer correctly on the target surface. The ink or toner specially developed for this purpose transfers smooth quality to the paper.
2. Positioning
Someone would gently place this printed paper on a surface to transfer the design, such as a T-shirt, a tote bag, or any other fabric item. The paper would be positioned to ensure the design aligns perfectly with the intended area for a precise transfer.
3. Applying Heat and Pressure
It uses a heat press, Cricut, or a simple home iron to compress the transfer paper with heat pressure. This tamps down the adhesive on the coated side of the paper to bond it firmly with the surface. Next, heat and pressure effectively imprint the design onto fabric, ceramics, or wood.
4. Peeling
Depending on the specific paper's instructions, the backing is carefully peeled away once the transfer paper has cooled or while it's still warm. This reveals the fully transferred design, now securely bonded to the surface for a lasting result.
How to Use Transfer Paper
The transfer creates a copy that is now ready. Print the design onto the coated side of the transfer paper using a laserjet or inkjet printer before transferring it to the desired location, for example, fabric or ceramic tiles. Transfer requires that the printed side contact the target surface; heat is then added using a heat press, the Cricut machine, or a home iron, according to the transfer paper instructions.
Inkjet Transfer Paper
This is made explicitly for inkjet printers, which allow one to print designs of their choice on fabrics, ceramics, or other surfaces. It is coated with an ink-absorbing and bonding mechanism that helps transfer the print. It enables brilliant and detailed designs on T-shirts, tote bags, etc. Using transfer paper, one can transfer a design from an inkjet printer onto fabric, ceramics, or other surfaces. Speciality transfer papers are coated to absorb and bond the ink to the surface most efficiently during the transfer. An ideal print medium for making vibrant, detailed creations on a T-shirt, a tote bag, etc.
Laser Transfer Paper
Laser transfer paper is specifically made for laser printers and copiers to ensure excellent transfers onto surfaces. Coated to enable good adherence to toner, this paper gives rise to crisp, durable designs. While it is often used to create custom graphics on fabrics, it's also used on ceramics and other heat-resistant materials.
Light or Dark Transfer Paper
Light and dark transfer papers are designed for different fabric colours, with each type offering optimal results. Transfer sheets are perfect for white or light surface enchantment. They let you effectively create vibrant designs that are crisp rather than relying on any background colour. On the other hand, dark transfer paper is for dark fabrics with a white backing that makes your design stand out against the fabric color. Both need their application methods, but they process inkjet or laser printers. Choosing the right paper ensures the best quality and durability of the design on various fabric colors.
Heat Transfer Paper: Types and Working Explained
Types of heat transfer papers can be light, dark, or transparent. They match different colors of surfaces and fabrics. You print your design on one side of the paper and then apply heat or pressure to transfer the printed image to a desired material. Knowledge of the various heat transfer papers and their specialized uses results in professional-grade results for custom products.
- Light Transfer Paper
- Dark Transfer Paper
- Specialty Transfer Paper
1. Light Transfer Paper
This type of transfer paper is best suited for white or light-colored fabrics, as it allows designs to pop vibrantly with transparent colors. The coating on the paper ensures that the design gets immediately integrated with the fabric to create a smooth, professional finish that works for T-shirts, tote bags, and other light-coloured clothing. Transfer paper suitable for white or light-colored fabrics enables designs to stand out with bright, transparent colors. Thanks to its coating, the design merges into the fabric, creating a smooth, professional-looking result. This transfer paper is most helpful in making personalized T-shirts, tote bags, and other light-colored garments.
2. Dark Transfer Paper
Dark transfer paper is specifically designed for use on dark or colored fabrics. It allows vibrant designs to appear clearly, and an opaque layer ensures the design stands out, even against the fabric's color.
3. Specialty Transfer Paper
Specialty transfer papers are available for hard surfaces like ceramics, wood, or glass, allowing for unique customizations. Additionally, there are options for creating temporary tattoos or glitter designs, adding versatility to your transfer projects.
How to Use a Heat Press, Cricut, or Home Iron for Heat Transfer Paper
Using a heat press, Cricut machine, or a home iron, put printed transfer paper against the surface you want to transfer and apply even pressure. Heat the machine at the specified temperature and time to ensure a perfect, smooth, and long-lasting transfer.
Using a Heat Press:
- Preheat the heat press to the recommended temperature (typically 300°F to 375°F).
- Place the fabric on the heat press and position the transfer paper.
- Close the press and apply pressure for the specified time (15-30 seconds).
- Open the press, let the design cool slightly, and peel off the backing.
Using a Cricut:
- Follow Cricut's heat transfer guide for settings based on your material and transfer type.
- Place the fabric on the Cricut heat press mat.
- Apply the Cricut EasyPress over the transfer paper and press for the specified time.
Using a Home Iron:
- Set the iron to a no-steam setting (usually cotton).
- Place a hard, heat-resistant surface beneath the fabric.
- Press the iron firmly over the transfer paper for 20-30 seconds, ensuring even heat distribution.
- Allow the design to cool slightly before peeling.
Tips for Using Different Kinds of Transfer Paper
When using light transfer paper, ensure the fabric is smooth and wrinkle-free for the best print quality. Remember to trim excess paper around the design for dark transfer paper to avoid visible edges on the fabric. Always follow each transfer paper type's specific heat and pressure instructions to achieve durable, vibrant results.
- Prewash Fabrics
- se the Correct Paper
- Apply Even Heat
- Test on Scrap Fabric
- Store Paper Properly
1. Prewash Fabrics
Fabrics undergo prewashing to extract every grease, dust, or chemical residue before transferring. This helps eliminate the possibility of shrinking and allows a more even surface on which the design would bond.
2. Use the Correct Paper
Ensure that you choose the appropriate transfer paper, considering the type of your printer—inkjet or laser—and the substrate to transfer to. The proper transfer paper guarantees that the ink adheres better, giving a clear and strong transfer.
3. Apply Even Heat
Inconsistent heat can lead to uneven transfers, causing design parts to fade or not adhere properly. Ensuring uniform heat application across the entire transfer area is crucial for achieving a smooth, durable result.
4. Test on Scrap Fabric
Testing a small design on a scrap piece of fabric ensures the transfer process works correctly and allows you to adjust settings if needed. It helps avoid mistakes and ensures the final project will have the best possible outcome.
5. Store Paper Properly
Storing transfer paper in a cool, dry place prevents moisture and heat from affecting its quality and performance. Proper storage helps maintain the paper's coating, ensuring optimal results during use.
Fixing Common Mistakes When Using Heat Transfer Paper
Common mistakes, such as peeling or faded designs, can be fixed by applying heat and pressure for a few more seconds to ensure they stick correctly again. In case transfer paper gets stuck onto the fabric, pull it away very carefully while still warm and retry adjusting settings.
- Design Not Transferring Completely
- Design Cracks After Washing
- Paper Sticking to Fabric
- Faded Designs
1. Design Not Transferring Completely
Cause: Insufficient heat or pressure may result in incomplete transfers, leaving the design partially faded or not fully bonded to the fabric.
Solution: Reapply the heat and pressure for much longer with a protective sheet over the part so it does not come into direct contact with the heat source. This will ensure the transfer is smooth and lasts without adequately adhering to the material.
Reapply heat and pressure for a longer time without direct contact with the source of heat by using a protective sheet so that the transfer might be very smooth and lasting without adhering to the material itself.
2. Design Cracks After Washing:
Cause: Heat, coupled with inferior transfer paper, causes designs to crack, fade, or peel off after some time.
Solution: That means strictly following all the washing instructions from the manufacturer and always using a suitable transfer paper for the desired best results that last long.
3. Paper Sticking to Fabric:
Cause: Peeling the transfer paper too soon or using the wrong type of paper can result in incomplete or damaged transfers.
Solution: Allow sufficient cooling time before peeling and ensure your paper is compatible with your printer and the transferred material.
4. Faded Designs:
Cause: Incorrect washing techniques like hot water or harsh cycles may cause early fading or peeling off of the design.
Solution: To maintain the transfer, cold wash it inside out with a gentle cycle, avoiding bleach and fabric softeners.
Conclusion
This manual should help you quite traditionally. Then, you can use heat transfer paper for any project. You only need precision and practice, whether with a heat press, Cricut, or home iron. With the right tools and techniques, your creations will become more professional and last longer.
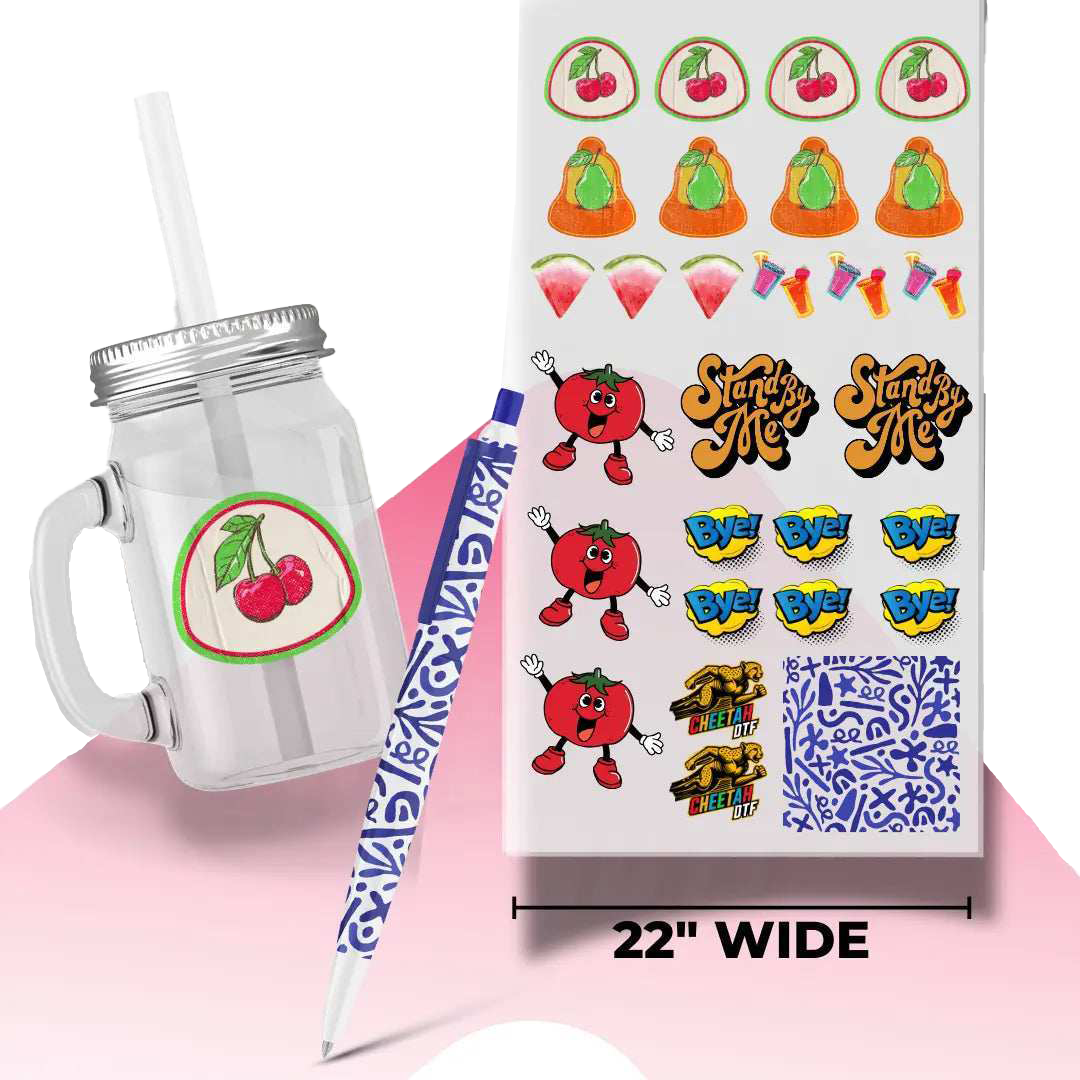
Cheetah DTF provides high-quality Direct-to-Film (DTF) transfers-having customizable solutions for both trim and bulk orders. Their service includes custom-sized, wholesale, and ready-to-press DTF transfers, perfect for vibrant, durable results. With fast processing, dependable shipping, and no minimum order requirements, Cheetah DTF ensures a seamless experience for businesses and individuals looking to create professional-grade designs.
FAQs
How to Use Transfer Paper for Tattoos?
To use transfer paper for tattoos, print the design onto the transfer paper using a printer, then place it onto the skin. Apply pressure to transfer the design, usually with a tattoo transfer gel or a stencil machine, ensuring it sticks securely. Once applied, the design can be traced with tattoo ink or a needle.
How to Print and Iron on Transfer?
First, choose the right transfer paper for your printer—inkjet or laser- and fabric type. The design should be printed on this coated side of the paper, making sure to mirror it if you use light transfer paper.
Do I Need to Prewash My Fabric Before Using Heat Transfer Paper?
It helps prewash fabric to remove sizing agents and dirt or grease that may inhibit the design transfer. This improves the adhesion and durability of the design on the finished product, which is just what is needed for professional quality.
Can I Use an Iron Instead of a Heat Press When Using Heat Transfer Paper?
Yes, you can use a home iron, but a heat press delivers more consistent heat and pressure, ensuring better transfer quality and durability of the design.