
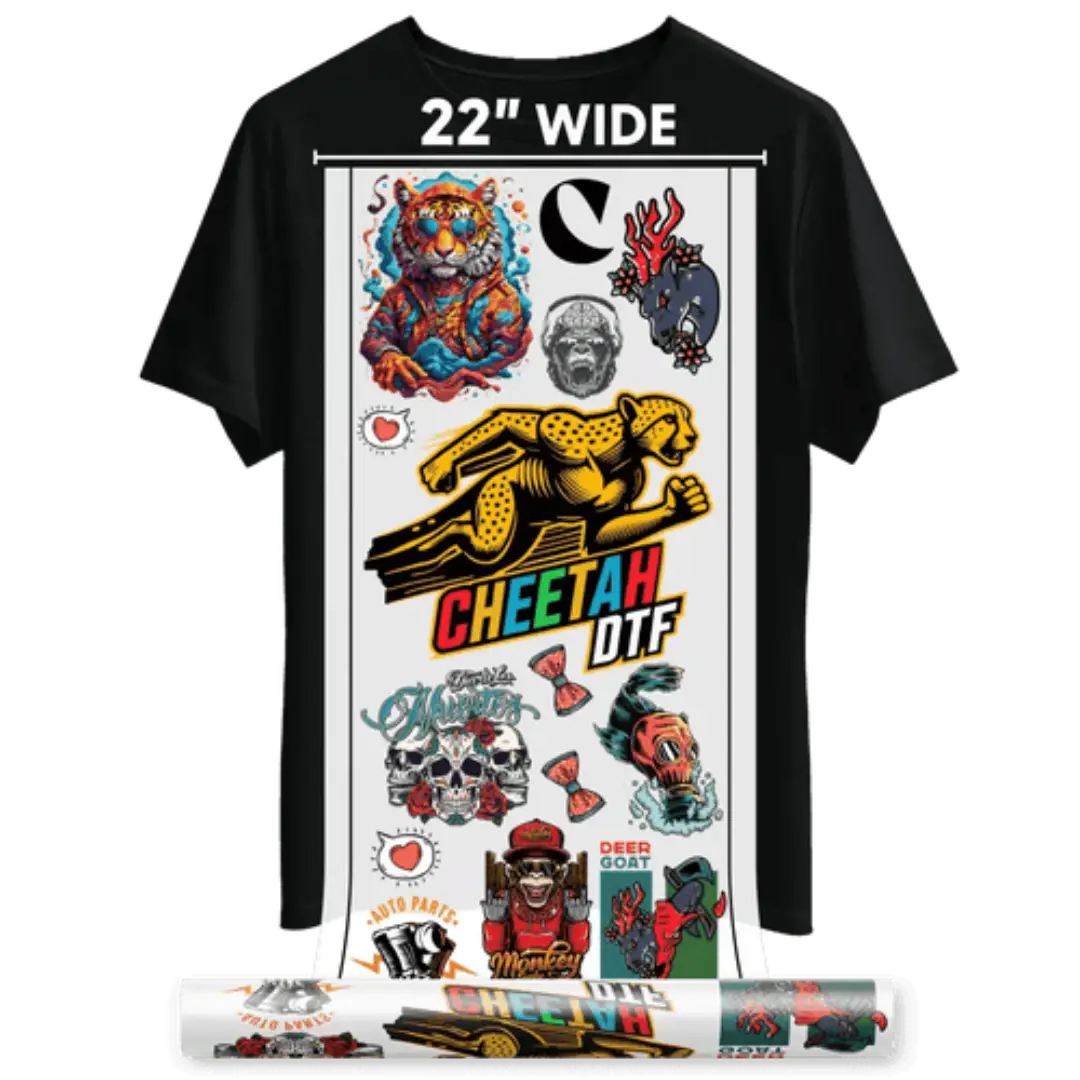
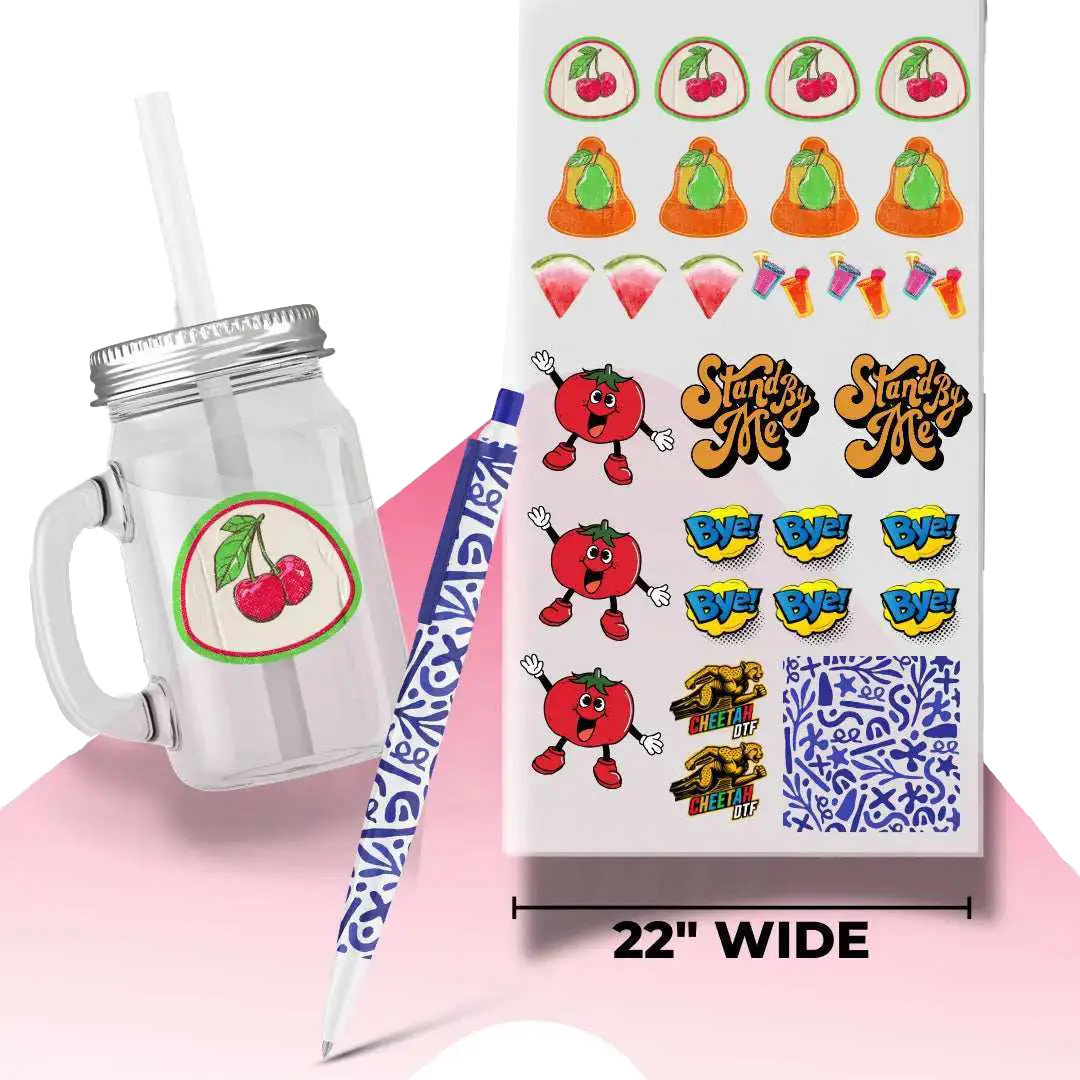


From Order to Ship: How to Optimize Turnaround Time for 100+ DTF Transfers
When you're handling 10 transfers, speed is nice. When you're handling 100+, speed is survival. In the DTF world, turnaround time isn't just a metric; it's the difference between a one-time buyer and a loyal wholesale client, between profit and overtime. A single bottleneck in gang sheeting, powdering, curing, or sorting can turn a same-day promise into a two-day apology.
Optimizing for high-volume DTF transfers isn't about rushing. It's about building a system where orders flow cleanly from intake to ship without double-handling, misprints, or last-minute chaos. From automated file checks and batch RIP processing to strategic curing stations and foolproof QC and packing workflows, every minute you save compounds.
This guide breaks down exactly how top DTF shops cut their 100+ transfer turnaround from days to hours , without sacrificing quality.
Why Most Shops Get Stuck on Bulk dTF Gang Sheet Orders
Most delays don't happen at the printer. The printer is fast.
Time is lost before printing. Customers send bad files. You spend hours fixing them. Then you spend more hours dragging logos around in Photoshop. That is where bulk orders die. If you fix your file intake and your gang sheet layout, you will ship 2x faster.
Step 1: Fix Your File Rules at Checkout
This is the most important step. If you get bad files, everything after is slow.
What to do:
-
Only accept PNG with a transparent background.
-
Require 300 DPI and real print size. A 4-inch logo must be 1200 pixels wide.
-
Do not accept JPEGs with white boxes. They will print with a white box.
Why this works:
You stop being a free art department. Shops that add these rules cut file fixing time by 80%. That saves 4 to 6 hours on a 100-piece order.
How to Make a DTF Gang Sheet File Ready on First Try
Tell your customers: Upload art how you want it to print. If you want a 3.5-inch chest logo, upload it sized at 3.5 inches. This one rule will save you hundreds of resizes.
Step 2: Sort Your 100+ Files by Size, Not by Customer
Do not build sheets customer by customer. That is slow and wastes film.
What to do:
-
Put all 3.5-inch chest logos in one folder.
-
Put all 8-inch front logos in another folder.
-
Put all 10 to 11-inch back logos in another folder.
Why this works:
Your printer and cutter love repeat sizes. When all sizes are the same, your powder cures more evenly and your packer can count faster.
Step 3: Build Your Sheet With a Gang Sheet Builder
This is where you save the most time.
Learning how to build a gang sheet manually takes 20 to 45 minutes per sheet. You have to drag each logo, leave gaps, and try to fill space.
A dtf gang sheet builder does it in 2 minutes.
What to do:
-
Upload all files from one size folder to the gang sheet builder.
-
Set your sheet size. Most shops use 22" x 60" for bulk.
-
Set your gap to 0.125 inches. This is important for clean cutting.
-
Click Build. The tool will automatically arrange everything to maximize gang sheet space.
Why this works:
A good builder uses smart nesting. It finds empty corners and fills them with small logos. Manual layout wastes 12% to 20% of film. A builder wastes only 3% to 7%. On 100 feet of film at $0.60 per foot, that saves you $18 to $32 in film alone. Plus you save $50 to $80 in labor per order.
What Makes a Custom DTF Gang Sheet Builder Good for Bulk
A good custom dtf gang sheet builder will flag low-res files before you print. It will warn you if a file has a white background. This stops reprints before they happen.
Step 4: Use Smart Gang Sheet Layout Tips to Save Film
You still need to know how to layout, even with a builder.
What to do:
-
Always put big designs down first, then fill gaps with small ones.
-
Keep 0.25 inches clear from the edge of the film. Powder clumps at the edge.
-
Keep all text facing the same way. It makes cutting and packing 30% faster.
Why this works:
This is how you truly maximize gang sheet space. A balanced sheet also cures better because ink coverage is even.
Step 5: Print, Powder, and Cure in One Line
Don't print 10 feet and let it sit. That ruins ink.
What to do:
-
Print 22 feet of film.
-
Powder it right away while the ink is still wet.
-
Cure it at 270 to 290°F for 90 to 120 seconds.
-
Repeat. Print the next 22 feet while the first one cures.
Why this works:
This inline flow keeps quality even. You get a clean peel every time and no pinholes from dried ink.
Step 6: Check Quality While You Print
Don't wait until the end to check.
What to do:
-
After curing, hold the film under a bright light.
-
Look for even powder. No shiny wet spots. No bare holes.
-
Do one test press from the first foot. Press at 305°F for 13 seconds with medium pressure. Then peel.
Why this works:
If your first foot peels clean and stretches without cracking, the rest of the batch will too. If not, you fix it now, not after you printed 100 feet.
Step 7: Cut and Pack by Size to Save 45 Minutes
Packing 100+ loose transfers is a nightmare.
What to do:
-
Stack transfers by size, not by customer.
-
Put them in bags of 25. Label each bag: "4-inch chest x 25".
-
Put parchment paper between stacks so they don't stick.
-
Ship 22-inch rolls in a 24-inch tube. They arrive with no creases and cost less than a box.
Why this works:
Your customer can count fast. You get fewer "you missed a logo" messages. Shops using this bag system cut complaints by over 50%.
Step 8: Ship and Send Tracking Right Away
Speed at the end matters.
What to do:
-
Use a packing slip that matches your gang sheet layout.
-
Add size and quantity to the slip.
-
Send tracking the second you print the label.
Why this works:
Customers trust you more when they get tracking fast. That means more bulk reorders.
Don't Work Harder, Build a Line
Big orders are not about working faster. They are about having a line.
Fix your file rules. Sort by size. Use a dtf gang sheet builder to layout in minutes. Print, powder, and cure in one flow. Check quality while you print. Pack by size.
Your dtf gang sheet is the center of that line. When you build it right, you waste less film, you use less ink, and you ship in 24 hours instead of 4 days.
If your current method feels slow, it's not you. It's your system. Change the system and bulk becomes your most profitable work. Cheetah DTF built our bulk system exactly for this.
Let's get your 100+ order out today.
Upload Your Bulk Order at Cheetah DTF.
Frequently Asked Questions
How Do I Build a DTF Gang Sheet for 100+ Transfers Quickly?
Use a dtf gang sheet builder. Upload all 100 PNGs at once, set your sheet to 22x60, set your gap to 0.125 inches, and let it auto-nest. Manual layout takes 3 to 5 hours for 100 transfers. A builder does it in 8 to 15 minutes. It also saves film by packing tighter than you can by hand.
What Is the Fastest Way to Make a DTF Gang Sheet That Still Looks Good?
The fastest way is to lock 2 to 3 sizes and use a builder with presets. Upload files at 300 DPI with transparent backgrounds, group by size, and let the software nest. This keeps spacing even, prevents overlap, and gives you a clean peel. Cheetah DTF builder also auto-checks for low-res art.
How Can I Maximize Gang Sheet Space on a Bulk Order?
Put big back prints down first, then fill leftover columns with small 3.5-inch chest logos. Don't mix 20 random sizes on one sheet. Keep 2 to 3 sizes max per sheet. This increases usable film from 78% to 92% and saves $18 to $32 per 100 feet in film and ink costs.
What Files Slow Down Gang Sheet Printing the Most?
JPEGs with white backgrounds and low-res logos under 200 DPI slow you down the most. They cause white boxes and fuzzy prints. Require 300 DPI PNGs at actual print size before you start. A builder that auto-rejects bad files will save you 4 to 6 hours of fixing on a bulk order.
How to Build a Gang Sheet System My Team Can Repeat?
Make three master templates: 22x60 for bulk, 22x36 for small jobs, and 22x120 for jumbo runs. Save them at 300 DPI with edge guides. Train your team to sort files by size first, then build. This turns gang sheet layout from a design job into a 2-minute task anyone can do.
What Are the Best Gang Sheet Layout Tips for Faster Cutting?
Group identical sizes in straight rows, face all designs the same direction, and leave 0.125 inches between graphics. Add size labels in the film margin. This lets your cutter use a straight ruler quickly and reduces counting errors. These tips cut cutting and packing time by about 30% on 100+ piece runs.
How Does a Gang Sheet Builder Save Money on Custom Orders?
A custom gang sheet builder saves money on labor, film, and reprints. Labor drops from $54 to $90 per 100 transfers down to $6 to $9. Film waste drops from 15% to 5%. It also flags bad art before printing, cutting reprint costs by up to 70%. Over a month, shops save $400 to $700.
Can I Mix Different Customer Logos on One Custom DTF Gang Sheet?
Yes, and you should to save film. Tag each file with the customer name, then nest them together. Use the builder's count report to know how many of each logo is on the sheet. This lets you combine 10 small orders into one bulk run while keeping counts accurate for packing.
Where Can I Order a Bulk DTF Gang Sheet With Fast Turnaround?
You can order bulk dtf gang sheet transfers from Cheetah DTF. We auto-check files, nest to maximize space, and pack by size with labels. Most 100+ orders ship same or next day. Our system is built for shops that need to hit deadlines for teams, events, and business clients without quality loss.
How Do I Prevent Peeling Issues on Large DTF Runs?
Cure evenly at 270 to 290°F for 90 to 120 seconds with even powder coverage. Do a test press from the first foot at 305°F for 13 seconds. Let it cool for 5 to 10 seconds, then peel in one smooth motion. If it stretches without cracking and has no edge lift, your cure is good for the whole batch.