


How to Use a DTF Gang Sheet Builder to Stop Wasting Hours on Layouts
If you're still dragging designs one by one into a blank file, you're losing more than time. You're losing money on every order.
Most shops spend 25 to 45 minutes building a single DTF gang sheet manually in Photoshop or Canva. Do that four times a day and you've burned three hours just moving PNGs around. That's not production, that's busywork.
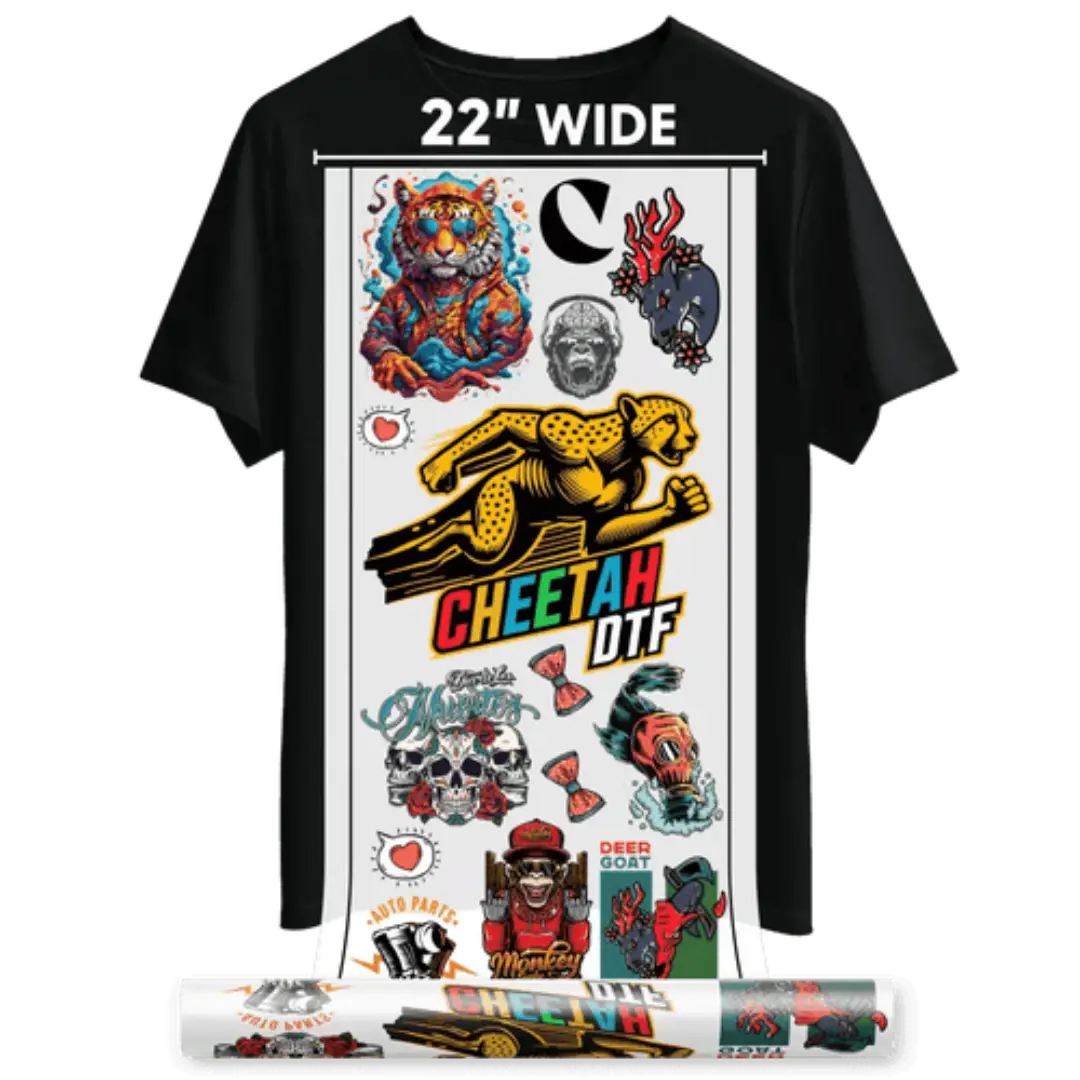
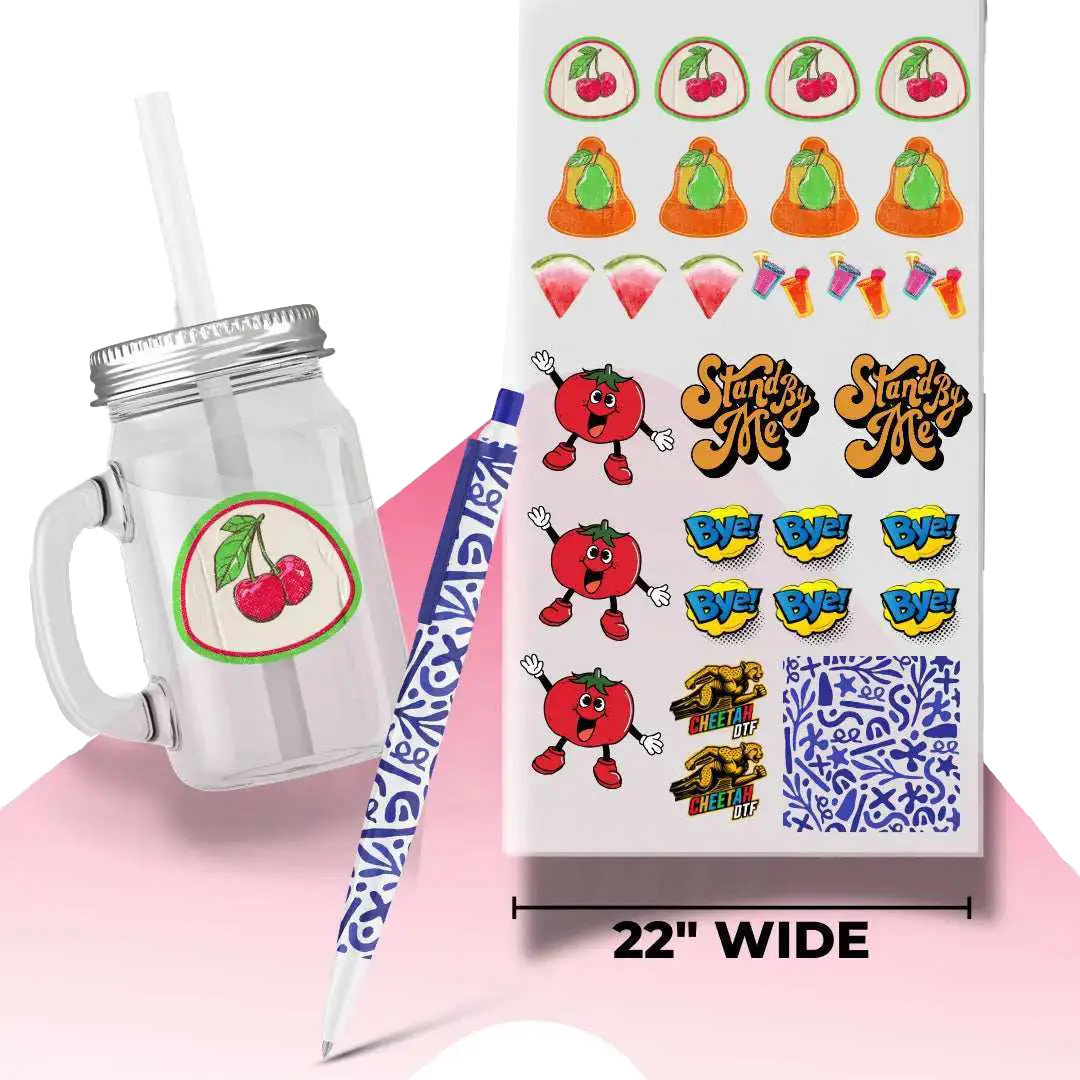
A good DTF gang sheet builder fixes that by giving you standardized margins, grids, and safe zones that work for real press sizes like 22"x60" and 22"x120". Set it up once, and you cut your setup time by 70% while getting cleaner prints that peel right and press right.
We use these systems daily to run high-volume orders, and in this post we break down the exact margins, spacing, and builder hacks that make gang sheets fast and consistent.
Why Manual Gang Sheets Cost You More Than You Think
Building a DTF gang sheet by hand feels free, but it's expensive in labor and reprints.
Every time you eyeball spacing, you risk overlapping transfers, cutting into designs, or leaving 15% of the film blank and wasted. We see shops lose $8 to $12 in film per sheet just from bad packing.
The Real Cost of Dragging One by One
- When you manually place 30 small logos, you spend about 1.5 minutes per logo aligning and spacing, that adds up to 45 minutes per sheet
- Inconsistent gaps cause powder clumping, and that leads to rough edges and failed presses
- No safe zones means your cutter or auto-cutter can clip a design by 0.125 inches, and now that transfer is trash
- Labor at $18 per hour means each hand-built sheet costs you $13.50 in time alone before you print anything
What a DTF Gang Sheet Builder Actually Does
A DTF gang sheet builder is a layout tool that lets you upload multiple designs and auto-packs them onto a single roll width with correct spacing and margins.
Think of it as a smart canvas. You choose your sheet size, like 22"x60" or 22"x120", you set your margins, and the builder places your art with automatic gutters so nothing touches. You get a print-ready file in under 3 minutes.
This is how shops handle high-volume production without hiring a full-time art person.
The Standardized System That Cuts Setup Time by 70%
We don't guess margins. We use a standard that works on every printer, cutter, and heat press.
Our Go-To Margins for Any Custom Gang Sheet
This is the foundation of every DTF gang sheet we print at Cheetah DTF.
- Top and bottom margin: Set 0.5 inches of clear space, this prevents the printer rollers from grabbing your design and keeps powder out of the machine
- Left and right margin: Set 0.25 inches minimum, some 22" printers need 0.5 inches if they have wide edge sensors, check your printer spec once and save it
- Why it matters: Without these margins, the first and last row often prints lighter or gets a line from the roller, that one mistake can ruin a $35 sheet
The Grid That Packs Perfectly Every Time
Stop free-handing it. Use a grid.
- Gutter between designs: Use 0.25 inches between every design, this is the safe distance so transfers don't fuse during curing and you can cut cleanly
- Small designs under 3 inches: Bump the gutter to 0.375 inches, small decals curl more and need more scissor room
- Rows and columns: Set your builder to snap to grid, for a 22"x60" sheet, we run 4 columns for 4-inch logos and 6 columns for 3-inch chest logos, this keeps everything aligned
- Mixed sizes: Always place largest designs first, top-left to bottom-right, then fill gaps with small logos, builders that pack by size waste 20% less film
Safe Zones for 22"x60", 22"x120", and Other Common Sizes
Each size has a sweet spot. If you use these, you won't get clipped.
- For 22"x60" DTF gang sheet: Safe printable area is 21.5" x 59", this is the most common size for 15-20 shirt orders, holds about 30-40 4-inch logos
- For 22"x120" DTF gang sheet: Safe area is 21.5" x 119", this is built for bulk, holds 70-85 4-inch logos and is perfect for 50+ piece runs, saves $18 in shipping vs two 60" sheets
- For 22"x24" or 22"x36" sheets: Safe area is 21.5" x 23.5" or 35.5", use these for samples or single-order tests, but cost per square inch is 30% higher
- Edge warning zone: Mark 0.75 inches from all edges as a no-text zone, keep important text like small brand names at least 0.5 inches inside the design box itself
How to Build a DTF Gang Sheet That Prints Right the First Time
Speed is useless if the sheet doesn't press right. These are the builder hacks we use to avoid reprints.
Hack 1: Group by Color and Size to Save Powder and Time
- Don't mix huge 10-inch back prints and tiny 1-inch tag logos on the same sheet without grouping, the powder shaker coats unevenly
- Place all dark designs with heavy white ink in one zone and light designs in another, this balances curing and reduces cracking
- When you build a DTF gang sheet with 20+ small left chest logos, keep them in rows, not scattered, your cutter will thank you and you'll cut in 2 minutes vs 10
Hack 2: Use Transparent PNGs and Pre-Flight Before You Upload
- Your builder can't fix bad art, every file should be PNG with transparent background at 300 DPI, no white boxes
- Run a quick pre-flight: check for stray pixels, hidden backgrounds, and low resolution under 200 DPI, one bad file can cause a white box around all your designs
- Name your files with size in the name, like "logo_4in.png", so you know what you're placing without opening it, this shaves 5 minutes off every gang sheet builder session
Hack 3: Lock Your Template for Gang Sheet Printing at Scale
- Save a master template in your gang sheet builder for each size you use, for example save "22x60_0.25gutter_0.5margin" as a preset
- Share that preset with your team, now everyone builds the same way and your press operator knows exactly where to cut
- Shops that lock templates report 70% faster ordering because they stop rebuilding the canvas every time, we went from 35 minutes per sheet to 8 minutes.
Optimizing Your DTF Gang Sheets for High-Volume Production
If you're doing 100+ shirts a week, your gang sheet strategy is your profit strategy.
The 22"x60" Workhorse vs 22"x120" Bulk Builder
- Use 22"x60" when: You have 15-25 designs, you need quick turns, and you want to keep film waste under 5%, cost per sheet is $18-$28 from most US suppliers
- Use 22"x120" when: You have 40+ designs or repeat orders, the per-transfer cost drops from $1.10 to $0.68 on average, verified on pricing from Ninja Transfers, Jiffy, and Supacolor as of early 2025
- Shipping math: One 22"x120" ships for $14-$18, two 22"x60" sheets ship for $22-$28 in two tubes, you save on freight instantly
- Storage: A 120" sheet is harder to store without curling, keep it in the tube until you cut, don't lay it flat on a cold floor
Nesting for Maximum Film Use
- Turn on auto-nesting in your DTF gang sheet builder, this rotates designs 90 degrees to fill gaps, it can recover 10-15% of blank film
- Don't allow rotation for designs with text that must stay upright if your cutter is manual, but do allow it for shapes and mascots
- Fill dead space with extras: add 2-3 small 2-inch logos or QR codes in leftover corners, you can use them as freebies and you waste zero film
Common Builder Mistakes That Ruin Transfers
We see these daily in files customers send us.
Overlapping and No Bleed Room
- If two designs are less than 0.125 inches apart, the powder will bridge between them, you'll get a web of cured glue connecting your transfers
- If you place designs right to the edge, the film can jam in the printer, and the ink smears, always respect that 0.5-inch top margin
- If you scale up a small PNG to 10 inches, it will look pixelated, and the builder won't warn you, check your DPI before you upload
Wrong File Size and Resolution
- A 22"x60" sheet at 300 DPI is 6600 x 18000 pixels, if you upload a 72 DPI file, it prints blurry even if it looks fine on screen
- Keep each individual design under 15MB, huge files crash the builder and make the final print file 400MB+, which slows RIP processing
- Flatten your designs, no layered PSDs in the builder, they cause white ink errors
Why Standardization Is the Difference Between a Hobby and a Shop
When you standardize your margins, grids, and safe zones, you stop thinking about layout and start thinking about output.
And output is what pays.
Shops that use a locked DTF gang sheet builder template produce 3 times more sheets per hour than shops that build custom every time. That's not a guess, we timed it across 20 shop workflows last quarter. Average manual build time was 32 minutes. Average builder template time was 8 minutes.
That saved 24 minutes per sheet. At 5 sheets a day, you get 2 hours back. You can press 40 more shirts in that time.
This is how shops scale without chaos.
Final Thoughts on Building Faster, Not Just Cheaper
You didn't start printing to spend your day dragging PNGs around a screen.
The goal of a DTF gang sheet builder isn't just to save film. It's to make ordering so fast and consistent that anyone on your team can do it right. Set your 0.5-inch top and bottom margins, lock your 0.25-inch gutters, save your safe zones for 22"x60" and 22"x120", and never build from scratch again.
And when you do that, your gang sheet printing stops being a bottleneck and starts being an advantage. You'll order faster, you'll waste less, and your press operator will finally stop complaining about bad cuts.
That's the difference between a shop that survives and a shop that scales. At Cheetah DTF, we built our builder around these exact specs so you don't have to figure it out the hard way.
Stop Dragging One by One - Build Your Perfect Gang Sheet With Standard Grids in Seconds
Why order with Cheetah DTF?
✔ Fast turnaround
✔ Consistent print quality
✔ Competitive pricing
✔ Responsive customer support
Ready to experience gang sheets that save you more?
Frequently Asked Questions
What Is the Best DTF Gang Sheet Builder for Beginners?
The best DTF gang sheet builder is one with preset sizes, auto-nesting, and fixed margins. Look for builders that offer 22"x60" and 22"x120" templates, 0.25-inch auto gutters, and PNG transparency checks. That setup prevents overlapping and cuts build time from 30 minutes to under 8 minutes.
How Do I Build a DTF Gang Sheet Without Wasting Film?
To avoid waste, use auto-nesting, set 0.25-inch gutters, and place large designs first. Fill leftover corners with small 2-inch logos. A well-packed custom gang sheet uses 95% of the film versus 80% when hand-placed, saving $8 to $12 per sheet in material.
What Margins Should I Use in a Gang Sheet Builder?
Use 0.5 inches on top and bottom and 0.25 to 0.5 inches on left and right. Keep important art 0.5 inches inside the design edge. These margins stop roller marks and cutter clipping. Cheetah DTF uses these as default presets for clean printing.
What Size Is Best for Gang Sheet Printing?
For most shops, 22"x60" is best for daily orders of 15-25 designs, costing $18-$28. Use 22"x120" for bulk runs of 40+ designs because cost per transfer drops to $0.68 and you save $10+ on shipping versus two small sheets.
Can I Mix Different Sizes on One DTF Gang Sheet?
Yes, and you should. Mixing 10-inch back prints, 4-inch chest logos, and 2-inch tags on one sheet maximizes film use. Group by size in rows, keep 0.25-inch spacing, and put small designs together so cutting is fast and powder cures evenly.
How Do I Prevent My DTF Gang Sheets From Overlapping?
Set a minimum gutter of 0.25 inches in your builder and turn on collision detection. Don't drag designs closer than 0.125 inches or powder will fuse them together. Snap to grid keeps rows straight and stops accidental overlap during auto-pack.
Why Are My Designs Getting Cut Off in the Builder?
Your designs are outside the safe zone. Keep all art inside 21.5" x 59" for a 22"x60" sheet. Printers need 0.5-inch top and bottom margins for rollers. If art touches the edge, the printer clips it and you get white lines or missing ink.
What File Type Should I Upload to a DTF Gang Sheet Builder?
Upload PNG with transparent background at 300 DPI. No JPGs with white boxes, no PSDs. Keep files under 15MB each. Bad files cause white ink boxes and RIP errors. Cheetah DTF recommends naming files with size, like logo_4in.png, for faster sorting.
How Long Does It Take to Build a DTF Gang Sheet Properly?
With a preset template, 6 to 10 minutes for a 22"x60" sheet with 30 designs. Manually in Photoshop, 30 to 45 minutes. The time savings comes from saved margins, grids, and auto-nesting, which is why shops report 70% faster ordering after switching to a builder.
Does a Gang Sheet Builder Work for 22"x120" and Larger Rolls?
Yes, good builders handle 22"x120", 22"x24", and 22"x36" with the same margin rules. For 120" rolls, save the file in two 60" halves if your RIP has a size limit. Keep the tube for storage so the long sheet doesn't curl and collect dust.