
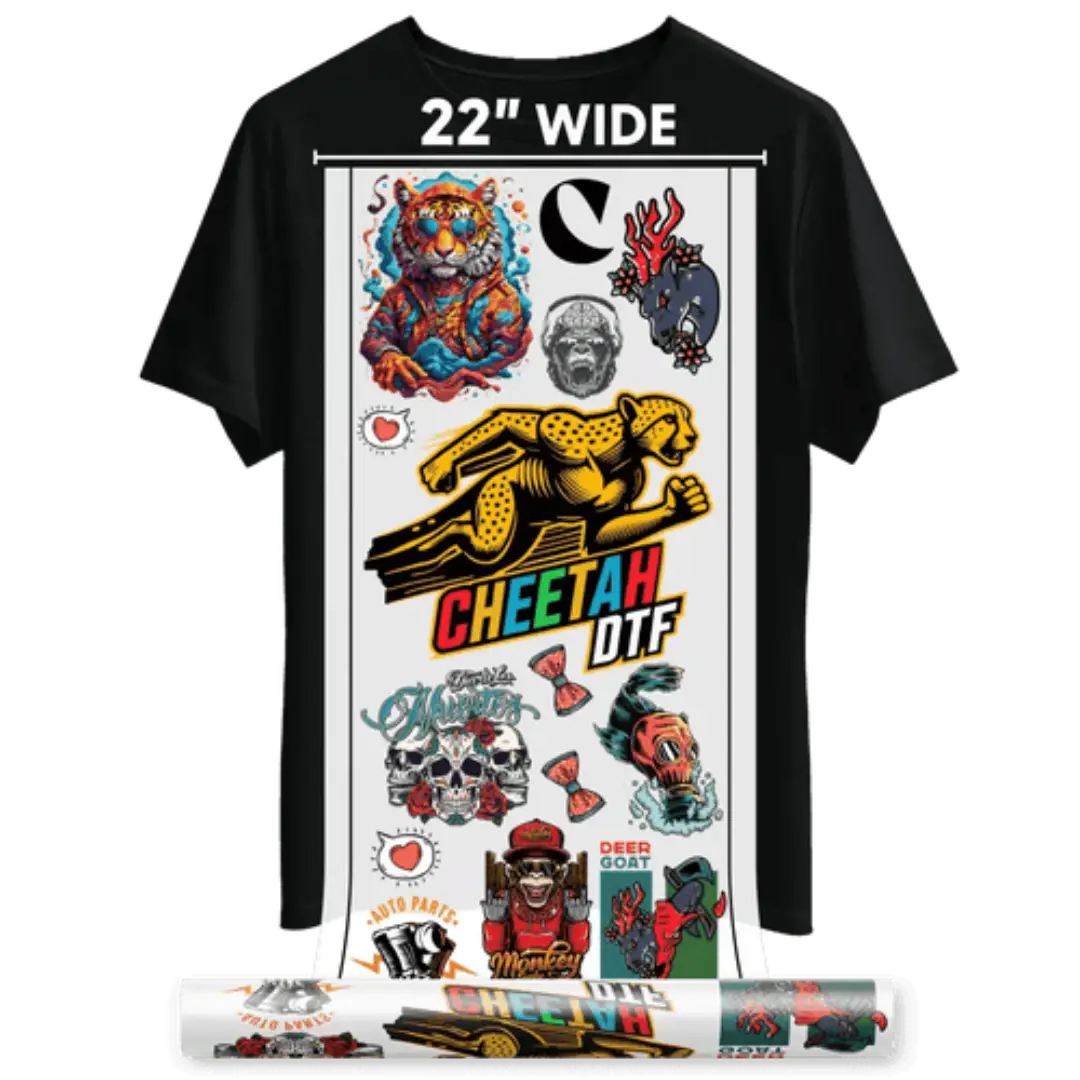
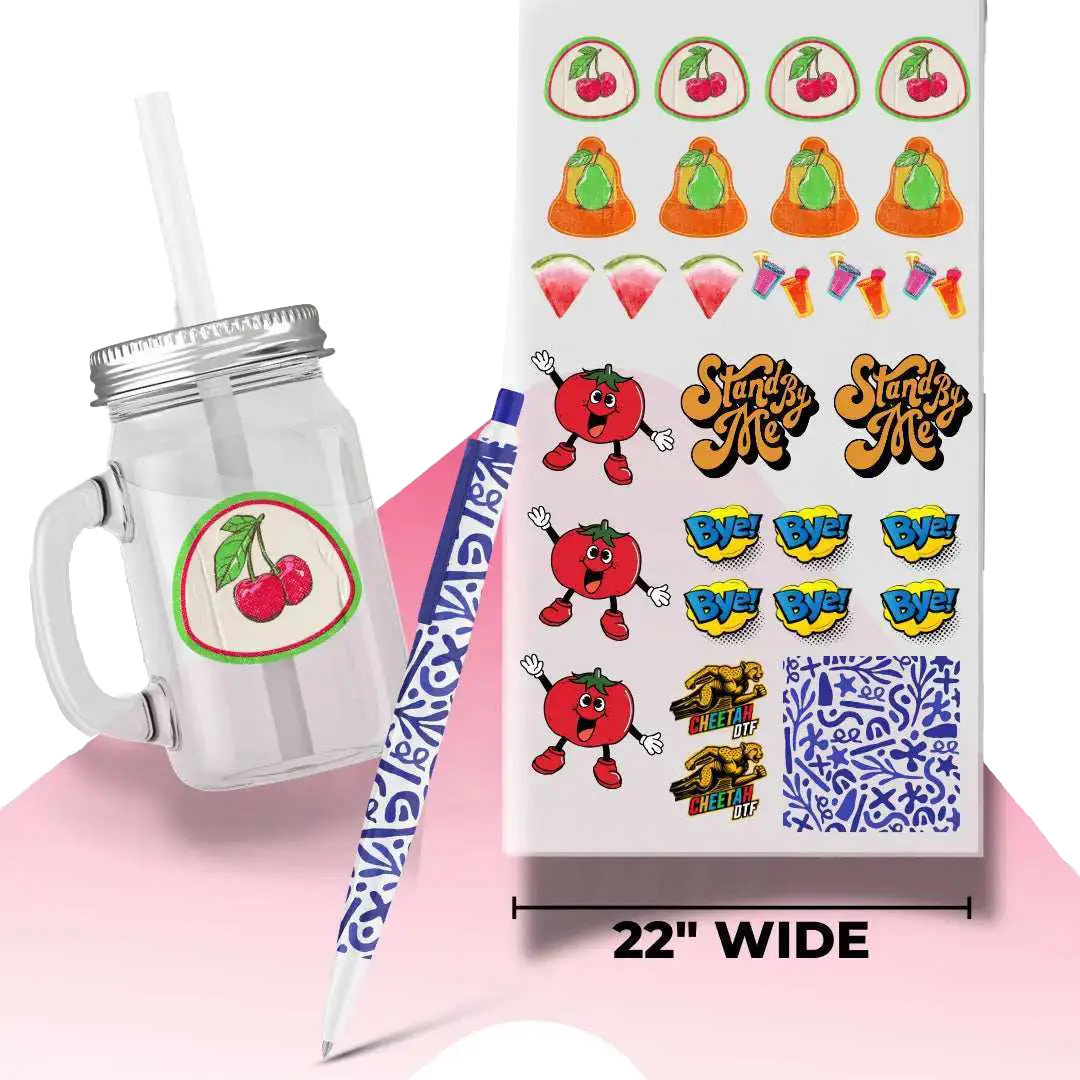


File Prep Checklist: Resolution, Background Removal & Sizing Multiple Logos for One DTF Gang Sheet
Your DTF gang sheet lives or dies in prep. Not on the press, not in the powder. In the ten minutes before you hit export.
Most blurry prints are not a printer problem. They are a file problem you missed. A logo that looked sharp in your group chat, a white box you thought was transparent, a PNG you stretched just a little too far. On screen it fools you. On film it tells the truth.
And when you are stacking ten, twenty, thirty logos on one sheet, one bad file drags the whole order down. You waste film, you waste time, and you end up reprinting.
So let's fix that before it starts. If you want to know how to build a DTF gang sheet that actually prints clean, you start here. Resolution at 300 DPI at true size, clean background removal, and smart sizing for every logo. Get these three right and your DTF gang sheet artwork setup becomes simple, sharp, and profitable.
Resolution Rules for a Sharp Custom DTF Gang Sheet
Resolution is where most sheets fail. Low res looks fine on your laptop. On film, it prints soft and pixelated.
What DPI You Actually Need for Logo DTF Transfers
You need 300 DPI at actual print size. Not 300 DPI shrunk down. Not 72 DPI enlarged to 300 DPI. If your logo is supposed to be 4 inches wide on a shirt, your file needs to be 1200 pixels wide at minimum. 4 inches x 300 DPI = 1200 pixels. That's the math.
Anything under 200 DPI at size will look fuzzy, especially on text. We've seen shops upload 150 DPI files from Canva and wonder why small lettering disappears after pressing. It disappears because there aren't enough pixels to form the letter.
Background Removal That Prevents White Boxes on Your DTF Gang Sheet
That white box around your logo? That's a background you didn't remove. DTF prints exactly what you give it, including that hidden white square.
Why PNG With Transparency Is Non-Negotiable
Your file needs a transparent background. Not white. Transparent. Save as PNG-24 with transparency checked. When you open it, you should see the gray checkerboard behind the logo, not white.
If you upload a JPG, even if it looks like it has no background, it has a white background baked in. The printer will lay white ink under that white box, and you'll press a white rectangle onto a black shirt. Customers send those back.
For a multiple logos DTF gang sheet, one JPG can force you to reprint the entire 22x24 sheet. At $18 to $24 per custom DTF gang sheet, that's an expensive mistake for a 30-second fix.
Best Tools to Clean Edges Without Leaving Halos
Use Remove.bg, Photoshop's Select Subject, or Illustrator's Image Trace for simple logos. Then zoom to 400% and look at the edges. You're looking for leftover gray or white fringes, called halos. Those halos print as a faint outline.
In Photoshop, use Select and Mask, feather 0.5 pixels, and decontaminate colors. In Illustrator, after tracing, expand and delete the white background layer. For hair-thin lines or distressed logos, keep a 1-2 pixel choke so powder doesn't stick to stray pixels.
Sizing Multiple Logos Correctly on One DTF Gang Sheet
Sizing is about more than fitting more stuff on film. It's about how it will look and press on a real shirt.
How to Size Left Chest, Sleeve, and Full Back Logos on the Same Sheet
Don't size by what looks good on screen. Size by garment placement.
Left chest logos should be 3 to 4 inches wide. Sleeve logos 2.5 to 3.5 inches wide. Youth chest 6 to 7 inches. Adult full back 10 to 11 inches wide for a 22-inch wide DTF gang sheet. If you make a back logo 12 inches, it will look huge and waste space you could use for two chest hits.
When you use a DTF gang sheet builder, set your sheet size first. Common sizes are 22x24, 22x36, and 22x60 inches. Then drag each logo in at its real print size. Don't shrink a 10-inch design to 4 inches in the builder and expect it to stay sharp. Size it correctly before you upload.
Spacing and Bleed Rules That Save Film
Leave at least 0.25 inches between each logo. Some builders like Cheetah DTF's builder auto-adds 0.125 inch, but 0.25 is safer for hand cutting. If you nest too tight, your scissors cut into the next transfer or powder bridges two designs together during curing.
And keep critical text 0.125 inch inside the edge of your design. DTF film can shift 1-2 millimeters during powder and cure. That tiny shift can clip a letter if you're right on the edge.
For a 22x24 custom DTF gang sheet, proper spacing means you fit about 12 ten-inch designs or 20 four-inch custom logo DTF transfers with clean cut lines. Push it to 24 designs with no gap and you'll lose 3 to 4 per sheet to bad cuts. That math doesn't work.
Color, Blacks, and File Format for Clean Custom Logo DTF Transfers
Color is the other silent killer. What you see on screen isn't what the printer sees.
Why You Should Build in sRGB and Use Rich Black
Build all your files in sRGB color profile, not CMYK. DTF RIP software reads sRGB better and gives you brighter reds and blues. If you send CMYK, your bright neon will print dull.
For black logos, don't use 100% K black. Use rich black: C 60%, M 40%, Y 40%, K 100%. That gives you a deep, solid black that covers well with white ink underneath. Pure K black can look washed out or gray after pressing, especially on hoodies.
And watch your ink limits. Areas with 100% of all colors plus white can bleed. Keep total ink under 240% in dense spots if your builder shows ink warnings.
PNG vs Vector: What to Upload to a Gang Sheet Builder
PNG at 300 DPI is perfect for most logo DTF transfers. But if you have a vector AI, EPS, or PDF, use it. Vectors stay sharp at any size. You can scale a vector from 3 inches to 12 inches with zero loss.
Avoid uploading PSD files with hidden layers or large TIFF files over 100MB. Most DTF gang sheet builder tools compress anything over 50MB and you lose detail. Keep each logo under 10MB, PNG format, transparent background, 300 DPI at print size. That hits the sweet spot for quality and upload speed.
Final Quality Check Before You Print Your Multiple Logos DTF Gang Sheet
This is the 2-minute check that saves you a reprint.
The 5-Point Checklist Pro Shops Use at Cheetah DTF
First, check canvas size. Your artboard should match your ordered sheet size exactly. A 22x24 sheet should be 6600 x 7200 pixels at 300 DPI.
Second, check all files are PNG with transparency. Open your gang sheet file and put a colored background behind it. If you see white boxes, fix them.
Third, check sizing labels. Add tiny 6pt text next to each logo that says its size, like "3.5in." It doesn't print if you put it outside the bleed, but it helps you verify before you send.
Fourth, check for overlapping. In your gang sheet builder, make sure no design overlaps another. Even a 2-pixel overlap creates a thick line of ink that won't peel right.
Fifth, check total quantity. Count your logos. For a 22x60 sheet, you should have 30 to 50 pieces depending on size. If you have 80 tiny logos crammed in, your cutting time triples and your labor cost eats your profit.
Real cost check: A misprinted 22x60 custom DTF gang sheet wastes $38 to $55 in film, ink, and powder. Add 45 minutes of labor at $18 per hour to re-nest and reprint. That's $70 lost on one sheet. A proper checklist takes 5 minutes.
Conclusion
Good file prep is boring work that makes you money. When you're running multiple logos DTF gang sheet jobs, resolution, background removal, and sizing aren't optional steps. They're the whole job. Set every logo to 300 DPI at actual size, strip the background to true transparency, and size each piece for its spot on the shirt, not just to fit more on film. Leave that quarter inch gap and build in rich black so your prints pop.
Why order Gang Sheets with Cheetah DTF?
✔ Fast turnaround
✔ Consistent print quality
✔ Competitive pricing
✔ Responsive customer support
Ready to experience the difference? At Cheetah DTF, we see thousands of sheets a week and the ones that press clean in 15 seconds at 300F are always the ones prepped right. Use a DTF gang sheet builder that shows real inches, check your edges at 400%, and do that final count before you hit print.
Frequently Asked Questions
How Do I Make a Background Transparent for a DTF Gang Sheet?
Open your logo in Photoshop or Photopea, use Select Subject or Magic Wand to select the background, delete it so you see a checkerboard. Save as PNG-24 with transparency checked. Upload to your DTF gang sheet builder and preview against a dark background to confirm no white box shows around edges.
What Resolution Should Logos Be for a Custom DTF Gang Sheet?
Logos should be 300 DPI at the exact size you want to print. A 4-inch wide left chest logo needs 1200 pixels wide. A 10-inch back logo needs 3000 pixels wide. Anything under 200 DPI at size will print blurry. Vector files are best because they scale without losing quality.
How Much Space Should I Leave Between Logos on a Multiple Logos DTF Gang Sheet?
Leave at least 0.25 inches between each logo on your DTF gang sheet. This gap prevents ink from bridging during curing and gives you clean cutting room. If you nest too tight, you risk cutting into the next design. For tiny 2-inch logos, 0.2 inches is acceptable.
Can I Mix Different Sized Logos on One DTF Gang Sheet Builder?
Yes, you can mix sizes. Put large back prints on top, medium chest logos in the middle, and small sleeve or hat logos at the bottom. Size each logo to its garment placement before uploading. Most gang sheet builder tools let you drag and resize, but pre-sizing keeps resolution sharp.
Why Does My Custom Logo DTF Transfers Have a White Outline After Pressing?
A white outline means your file had a faint white or gray halo around the edge that wasn't fully removed. Zoom to 400% in your editor, use decontaminate colors, and add a 1-pixel choke. Also make sure your RIP isn't adding a stroke. Cheetah DTF checks for halos before printing.
What File Format Is Best for Logo DTF Transfers on a Gang Sheet?
PNG with transparent background at 300 DPI is best for most users. AI, EPS, or PDF vector files are even better for sharp lines and text. Avoid JPG because it adds a white background. Keep each file under 10MB so your DTF gang sheet builder uploads fast without compression loss.
How Do I Size a 3-Inch Logo Correctly in a Gang Sheet Builder?
Create your logo file at 3 inches wide at 300 DPI, which equals 900 pixels wide. Upload it to the builder without resizing it down. If your builder shows inches, set width to 3 inches. Double-check with the ruler tool. Small logos under 2.5 inches may need bolder lines to hold powder.
Can I Use Canva to Prep Files for a DTF Gang Sheet?
Yes, but export correctly. Design at larger size, then download as PNG with transparent background checked and size set to 3x. Canva defaults to 96 DPI, so 3x export gets you closer to 300 DPI. After export, verify pixel dimensions. For best results, get the original vector logo from your customer.
Does Cheetah DTF Fix Resolution or Background Issues on My DTF Gang Sheet?
Cheetah DTF does a quick quality check for obvious issues like white backgrounds or very low resolution and will flag them before printing. We don't redraw logos for free. If you need background removal or vector tracing, add that service at checkout so your custom DTF gang sheet prints sharp and presses clean.
How Many Logos Fit on a 22x60 DTF Gang Sheet Without Wasting Space?
On a 22x60 DTF gang sheet, you can fit about 6 large 10x10 inch backs, or 30 four-inch left chest logos, or 50 to 60 two-inch sleeve logos with proper spacing. Mixing sizes usually yields 35 to 45 total pieces. Good nesting with 0.25 inch gaps keeps waste under 5%.