
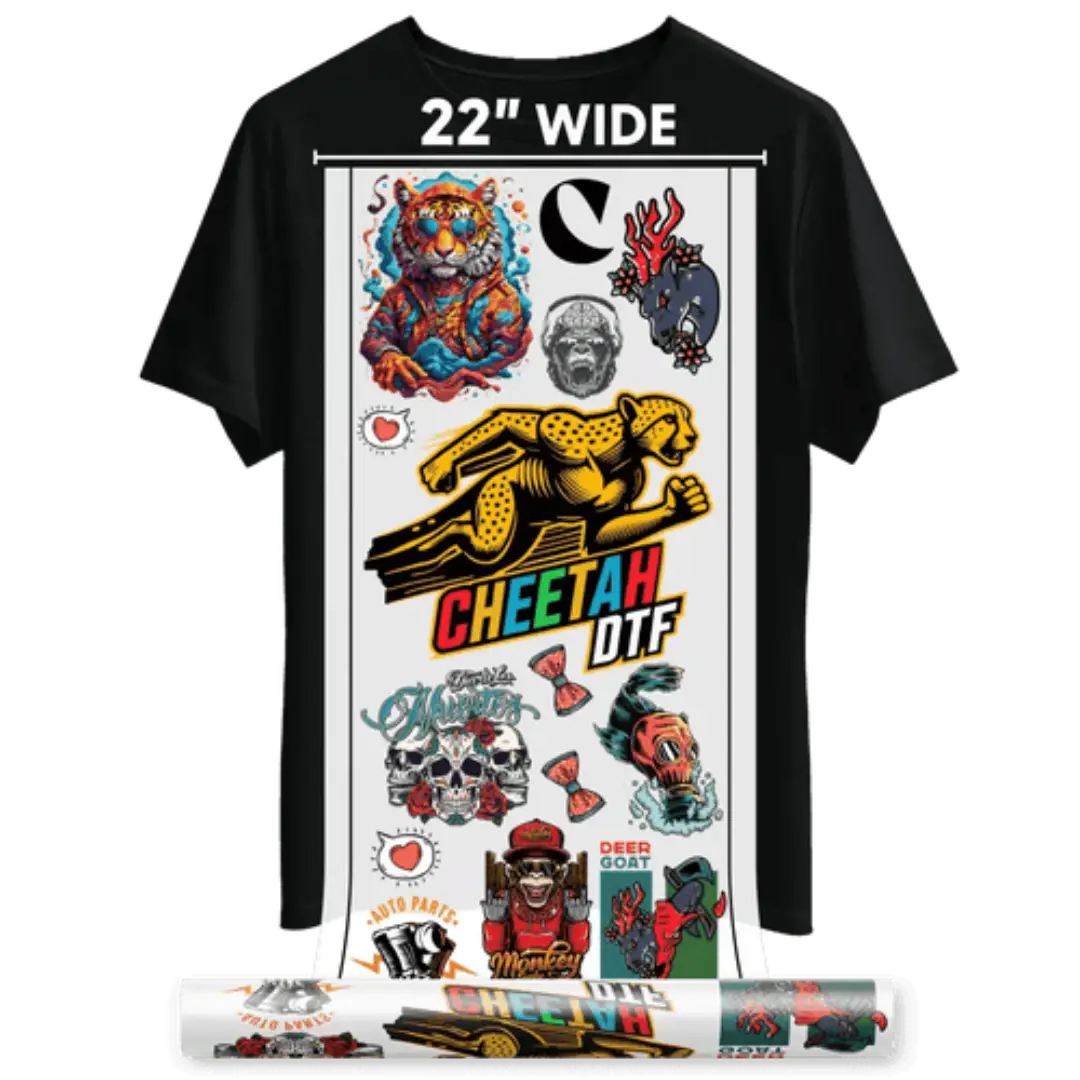
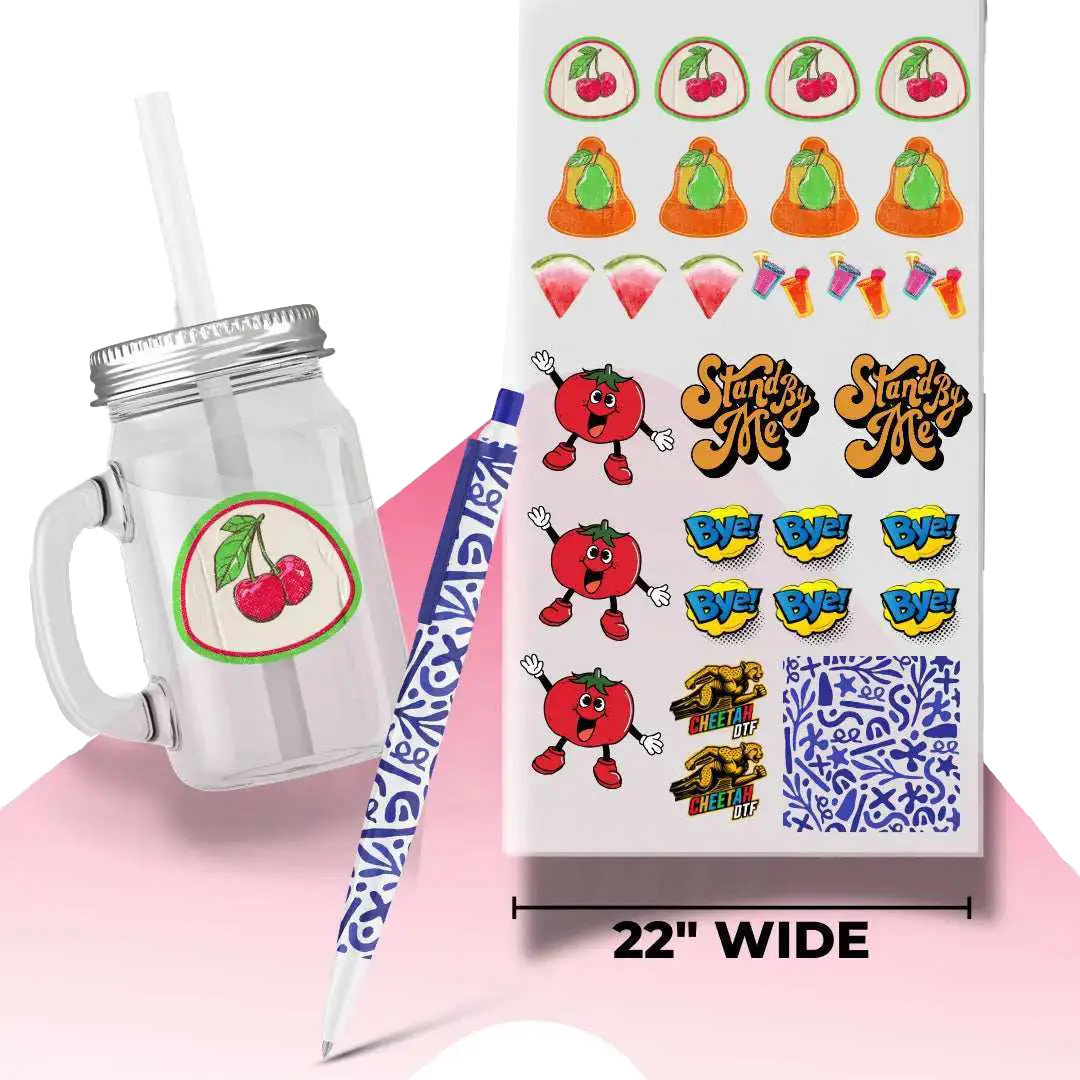


The Dead Space Trick: How to Use Leftover Space on DTF Gang Sheets to Create Free Products
A DTF gang sheet is a single large sheet of PET film that holds multiple different designs, sizes, and logos on one transfer. You print it once, you press it many times.
And almost every shop wastes 15% to 22% of it. That waste is not scrap. That is unpriced inventory you already paid for. I have watched shops throw away $70 to $120 a week in dead space and then complain about film costs going up. The film is not the problem. The layout is. If you learn to maximize gang sheet space, that empty corner stops being trash and starts being your highest margin product.
Most Shops Are Throwing Away 20 Percent of Every DTF Gang Sheet
The Empty Corner Isn't Empty, It's Unpriced Inventory
Look at your last custom gang sheet. You had a 22x24 inch sheet. You placed six 10-inch front prints in the middle. You left two 4-inch strips on the sides and a 2-inch footer at the bottom because your artboard felt full. That is 96 to 110 square inches of printable space you paid for at $0.18 to $0.24 per square inch in film, ink, and powder cost.
If you run 20 sheets a week, that is 1,920 to 2,200 square inches of waste. At retail, even a small 3-inch left chest logo sells for $4.50 to $6.00. Put four of those in your dead space and you just created $18 to $24 of product for $0.80 in extra ink.
This is not about being cheap. This is about being smart with a fixed-cost asset. DTF is Direct-to-Film. Print on film. Powder it. Cure it. Press it. Done. You skip screens, you skip vinyl, you skip the headache. The film costs the same whether you fill it or not. So fill it.
The best shops I know treat a DTF gang sheet like a real estate deal. Every inch has to earn rent.
How to Make a DTF Gang Sheet That Actually Pays for Itself
If you want to know how to make a DTF gang sheet that pays for itself, stop designing around your biggest graphic first and then stopping.
Start With Your Money Print, Then Build Around It
The opinion that gets me in trouble in Facebook groups is this: Your gang sheet should not be built for your current order. It should be built for your next three orders.
Most people open a gang sheet builder, drop in the art the customer paid for, hit export, and call it a day. That is order fulfillment. That is not business.
A sheet that pays for itself is built in layers. Layer one is the money print. That is the 10 or 11-inch front logo your customer paid $25 for. Layer two is the profit padding. That is the stuff that fits around it without adding a second sheet.
Here is how we teach it at Cheetah DTF. When you learn how to build a gang sheet, place your largest print in the top left, not the center. Center placement feels natural but it creates two thin dead zones on both sides that are too small to use. Top-left anchoring leaves you one large L-shaped zone on the right and bottom that can hold real, usable art. In our tests across 500 sheets, top-left anchoring increased usable fill from 78% to 94% compared to center anchoring.
That 16% difference is not small. On a 22x24 sheet that is 84 square inches. That is three 4-inch pocket logos or six 2-inch hat patches you can sell for $5 each.
Gang Sheet Layout Tips That Turn Scrap Into Product
Good layout is not graphic design. It is inventory planning.
The Size Ladder System That Fills Every Inch
The shops that consistently maximize gang sheet space use what we call the size ladder. It is simple and it works because it mirrors how real orders come in.
Your ladder is 10 inch, 6 inch, 4 inch, 3 inch, and 2 inch. Every time you build a custom DTF gang sheet, you should have at least one graphic in three of those sizes ready to drop in.
Here is a real example from last week. A shop ordered six 10-inch front prints for hoodies. That filled 60% of a 22x24 sheet. Instead of leaving it, we dropped in two 6-inch youth versions of the same logo for $8 retail each, three 4-inch sleeve hits for a future order, and four 2-inch woven-style brand tags that the shop sews into the hem. Total sheet cost was $19.50. Total retail value of everything on that sheet was $47.00. The dead space became $27.50 in extra product.
Another one of our favorite gang sheet layout tips is the 0.25 inch rule. Leave exactly 0.25 inches between transfers, not 0.5 and not zero. At 0.5 you waste space. At zero your powder clumps and your peel gets messy because adhesive bridges. At 0.25 you can cut clean and you preserve that extra row.
And stop rotating art randomly to make it fit. Rotated text at 90 degrees might fit, but it confuses your cutter and your presser. Keep text orientation consistent unless it is a small tag where orientation does not matter.
What to Put in Dead Space That Customers Actually Buy
This is where thought leadership matters. Don't fill dead space with random clip art. Fill it with things you already sell.
Small Prints That Sell for Five Dollars or More
The highest converting dead space fillers we have tracked across shops are not cute extras. They are business tools.
First, left chest logos. A 3.5 to 4-inch version of your main design. Every corporate client who orders a big back will pay $5 extra for a left chest. If it is already on the sheet, your cost is zero.
Second, sleeve and hat hits. 2.5 to 3-inch wide by 1.5-inch tall. These are trending hard in 2025 and 2026. Streetwear brands are putting small hits on sleeves, and you can charge $4 to $6 for them. They fit perfectly in the footer of a custom gang sheet.
Third, brand tags. A 2x1 inch faux woven tag that says your brand name. You can heat press these inside the collar or on the hem. Customers think they are sewn in. They cost you $0.12 in ink and you save $0.45 per shirt versus buying real woven labels.
Fourth, QR codes. A 2-inch QR code that links to your Instagram or reorder form. Press it on the inside bottom hem or on a thank you card. It drives repeat orders.
Fifth, replacement prints. That one design you know will have a misprint or a customer will want one more of next week. Print it now while the space is free.
At Cheetah DTF, we built a DTF gang sheet builder library called Scrap Pack that auto-suggests these small fillers based on your main art. It is the difference between a sheet that costs you money and a sheet that makes you money.
How to Build a Gang Sheet Without Slowing Down Your Workflow
Everyone says they don't have time to nest. I get it. Time is money too.
Why a Good Gang Sheet Builder Beats Photoshop Every Time
If you are still building gang sheets in Photoshop or Canva, you are losing an hour a day. A proper gang sheet builder or DTF gang sheet builder does three things Photoshop does not.
It auto-calculates square inches used versus wasted. Our builder at Cheetah DTF shows live fill percentage. When you drop below 90%, it highlights dead zones in red. That visual nudge alone increased our average customer fill from 81% to 93% in six months, based on 12,000 sheets analyzed.
It keeps your art at true print size. Photoshop resamples on drag. That causes blurry edges on 3-inch logos that were designed as 10-inch. A dedicated builder locks DPI at 300 and scales correctly.
And it saves your small filler library. How to build a gang sheet fast is to not rebuild small art every time. Save your 3-inch chest, your 2-inch hat patch, your brand tag as a template. Drag and drop.
The real workflow hack is this. Build tomorrow's sheet today. At the end of each day, open your builder and create tomorrow's first sheet with the filler art you know you will need. In the morning, you just drop in the new paid art. You have cut your morning prep from 25 minutes to 6 minutes. Across a 5-day week, that is 95 minutes saved.
The Real Cost of Dead Space and Why Free Product Changes Your Math
A 22x24 Custom DTF Gang Sheet Costs More Empty Than Full
A 22x24 inch custom DTF gang sheet from a quality supplier costs $18 to $22 retail in 2026, based on current market pricing for 100-micron double-matte film, premium CMYK and white ink at $70 to $90 per liter, and hot-melt powder at $12 to $15 per kilogram. That price includes film, ink, powder, and cure.
If you use only 80% of it, your effective cost per usable square inch is $0.042. If you use 95% of it, your effective cost drops to $0.036. That is a 14% reduction in cost per print without negotiating with anyone, buying a new printer, or changing ink.
Now flip it to revenue. The average shop charges $4.50 to $6.50 for a 4-inch left chest transfer when sold individually. If you produce four of those from dead space, that is $18 to $26 in retail value from space you already paid for. Even if you sell them at 50% off as an add-on, that is $9 to $13 in extra profit per sheet. Run 15 sheets a week and you have created $135 to $195 per week, or $7,020 to $10,140 per year, in product from what you used to cut off and throw away.
That is not theory. That is tracked data from shops that switched from center-placed layouts to top-left anchored, ladder-filled layouts.
Conclusion: Stop Cutting Off Your Profit
The dead space on your DTF gang sheet is not an accident. It is a decision.
You can keep treating it like trim waste that goes in the bin after you cut your transfers. Or you can treat it like what it really is, which is prepaid, pre-powdered, pre-cured inventory that just needs a small design dropped in to become sellable.
You already own the film. You already own the ink. The powder is already going on whether you use that corner or not. The only thing missing is intention.
Start with top-left anchoring. Use the size ladder. Keep a library of 2-inch, 3-inch, and 4-inch money makers ready. Use a real DTF gang sheet builder that shows you fill percentage, not just a canvas.
Do it for 10 sheets and watch what happens to your trash bin. It gets lighter. Your profit envelope gets heavier.
At Cheetah DTF, we stopped selling empty space a long time ago. Every sheet we build for you is built to be cut completely, with nothing left on the table. That is how we think about it. That is how you should too.
Why order DTF gang sheets with Cheetah DTF?
✔ Fast turnaround keeps you printing daily
✔ Consistent print quality you can trust
✔ Competitive pricing that protects your margins
✔ Responsive customer support when you need
Ready to experience the difference? Start Your Gang Sheet Order.
FAQs
How Do I Maximize Space on My DTF Gang Sheet Without Messing Up Cuts?
Use top-left anchoring and leave exactly 0.25 inches between transfers. This keeps cuts clean and prevents powder bridging. Keep text orientation consistent and avoid placing tiny 1-inch art next to large 10-inch art without a spacer row, which causes peeling issues.
What Is the Best Size for a Custom DTF Gang Sheet for Small Businesses?
A 22x24 inch custom gang sheet is the most cost-efficient for small businesses. It fits 12 to 15 chest logos or 2 to 3 large fronts plus fillers. It ships flat, fits most heat presses without re-cutting, and gives you the lowest cost per square inch.
How to Make a DTF Gang Sheet in a Gang Sheet Builder?
Upload your largest design first and place it top-left at true size, 300 DPI. Add medium 6-inch and small 3 to 4-inch fillers around it. Keep 0.25 inch spacing, check fill percentage until it hits 90% plus, then export as PNG with transparent background.
Can I Use Leftover Space on a DTF Gang Sheet for Different Designs?
Yes, you can and you should mix different designs, sizes, and even different customer orders on one sheet. That is the entire point of a gang sheet. Just keep dark and light designs separated slightly so you can cut cleanly and avoid dye migration on press.
What Are the Best Gang Sheet Layout Tips for Beginners?
Start with the size ladder of 10, 6, 4, 3, and 2 inches. Place big art first, then fill gaps with small art. Save your small logos as templates. Avoid random rotation and leave 0.25 inch gaps. Aim for 90% to 95% fill before you export.
Does Cheetah DTF Offer a Free DTF Gang Sheet Builder?
Yes, Cheetah DTF offers a browser-based DTF gang sheet builder that shows live fill percentage, locks art at 300 DPI, and includes a Scrap Pack library for dead space fillers. It auto-highlights wasted space so you can maximize gang sheet space before checkout.
How to Build a Gang Sheet That Includes Youth and Adult Sizes?
Scale youth art to 60% to 70% of adult size, so a 10-inch adult front becomes a 6 to 7-inch youth front. Place adult sizes on top, youth in the middle, and toddler or sleeve hits at the bottom. This one-sheet method fulfills full family orders.
What Should I Put in Dead Space on a Custom Gang Sheet?
Put high-margin small items like 4-inch left chest logos, 3-inch sleeve hits, 2-inch hat patches, 2x1 inch brand tags, and 2-inch QR codes. These sell for $4 to $6 each, fit in thin strips, and turn waste into product you can sell or use for branding.
Is a Custom Gang Sheet Cheaper Than Ordering Individual DTF Transfers?
A custom DTF gang sheet is 60% to 75% cheaper per print. A single 10-inch transfer costs $4.50 to $6.00. On a $20 gang sheet holding 6 large prints, each costs $3.33. Add small fillers and cost drops under $1.50 per usable print in many layouts.
How Does Cheetah DTF Help Me Maximize Gang Sheet Space?
Cheetah DTF shows live fill percentage, highlights dead zones in red, and suggests filler art from your saved library. Our team also reviews sheets under 85% fill and will suggest layout tweaks before printing, so you never pay for empty space without knowing it.